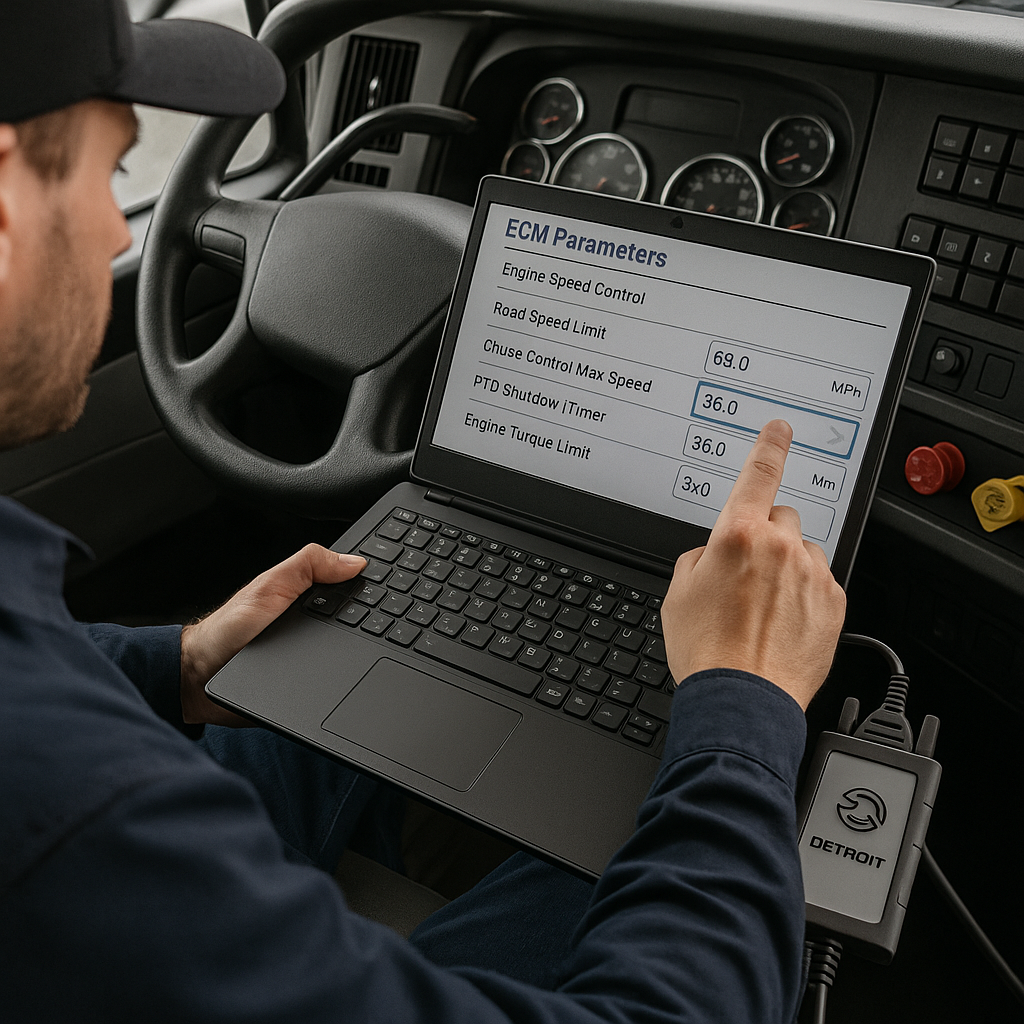
How to Change Parameters on Detroit Diesel Engines Safely
Share
Modifying parameters on a Detroit Diesel engine gives you direct control over the truck’s performance, behavior, and compliance settings. Whether you're a fleet tech or a shop owner, adjusting the ECM parameters correctly can improve efficiency, customize operations, and help you meet route or equipment requirements.
With the right diagnostic laptop and a Detroit-compatible adapter, you can safely access and modify these settings — without subscriptions or dealer intervention.
What Are Detroit Diesel Parameters?
Engine parameters are internal ECM (Electronic Control Module) settings that determine how your engine behaves. These settings can affect:
-
Idle shutdown timers
-
Speed limiters (governors)
-
Cruise control functionality
-
PTO configuration
-
Torque management
-
Emissions control settings
-
Fan operation and temperature thresholds
Properly adjusting these parameters ensures your engine matches your application — whether you're hauling long distance, operating a vocational truck, or tuning for extreme weather.
Step-by-Step: How to Change ECM Parameters on a Detroit Diesel Engine
1. Connect Your Diagnostic Laptop
-
Plug in your RP1210-compliant diagnostic adapter (e.g., Nexiq USB-Link or DG Tech)
-
Connect it to the 9-pin or 16-pin diagnostic port on the vehicle
-
Attach the adapter to your NoFeeDiesel laptop via USB
2. Identify the Vehicle ECM
-
Launch your diagnostic software
-
Let the system scan and detect the ECM
-
Confirm the VIN, engine model, and associated control modules
3. Open the Parameter Settings Section
-
Navigate to “ECM Configuration” or “Parameters”
-
Choose the parameter group related to your intended changes:
-
Engine Speed Control
-
Cruise and PTO
-
Emissions or Fan Settings
-
Security/Lockout Functions
-
4. Review Current Values
-
Before editing, save or screenshot current values
-
Note descriptions and units of measurement (RPM, MPH, °F, etc.)
-
Look for any parameters marked “Locked” or requiring special access levels
5. Edit the Desired Parameters
-
Click the parameter value to edit
-
Input the new value (e.g., increase max road speed from 68 to 72 MPH)
-
Confirm entry and double-check limits or safety flags
6. Apply Changes to ECM
-
Click “Apply,” “Send to ECM,” or equivalent to write the changes
-
The laptop may prompt you to cycle the ignition or restart the module
7. Verify and Monitor
-
Refresh the parameter list and confirm your new value is saved
-
Run live monitoring to ensure no fault codes or unusual behaviors
-
Take a test drive if necessary to confirm functionality
Important Notes Before You Change Parameters
-
Some settings may require authorized access or manufacturer password levels
-
Always verify compliance with DOT and emissions regulations before changing governed speed or torque
-
Improper changes may affect regeneration cycles, DEF dosing, or cooling logic
What You Can Adjust with a Detroit Diagnostic Kit
With a NoFeeDiesel laptop and adapter, you can access and configure:
-
Engine idle shutdown
-
Vehicle speed limiters
-
Engine fan thresholds
-
Cruise control engagement
-
PTO idle and ramp-up settings
-
Custom operating profiles for emissions zones or heavy loads
These tools give you the same power as the dealer — without the fees, lockouts, or subscriptions.
What You’ll Need:
-
A rugged diagnostic laptop (preloaded — no setup needed)
-
A Detroit-compatible RP1210 adapter (e.g., Nexiq USB-Link 2)
-
Full software access with no subscription or VIN lockouts
-
Clear instructions and support from the NoFeeDiesel team
